Editor’s Note: After the overwhelmingly positive reactions to the Marvel Champions Tabletop Simulator tutorial, we decided to create how-tos for the other co-op LCGs as well.
You can find the Arkham Horror LCG tutorial here.
Step 1: Get Tabletop Simulator
This is an easy one! Well, maybe not for your wallet. You can find the program here.
Tabletop Simulator’s MSRP is $20, but it is constantly on sale for $10. Whether that sale is directly on the Steam storefront or elsewhere, make sure you do some due diligence by Googling “Tabletop Simulator sale” before buying it.
You could also sift through a deals aggregate site like Slickdeals.
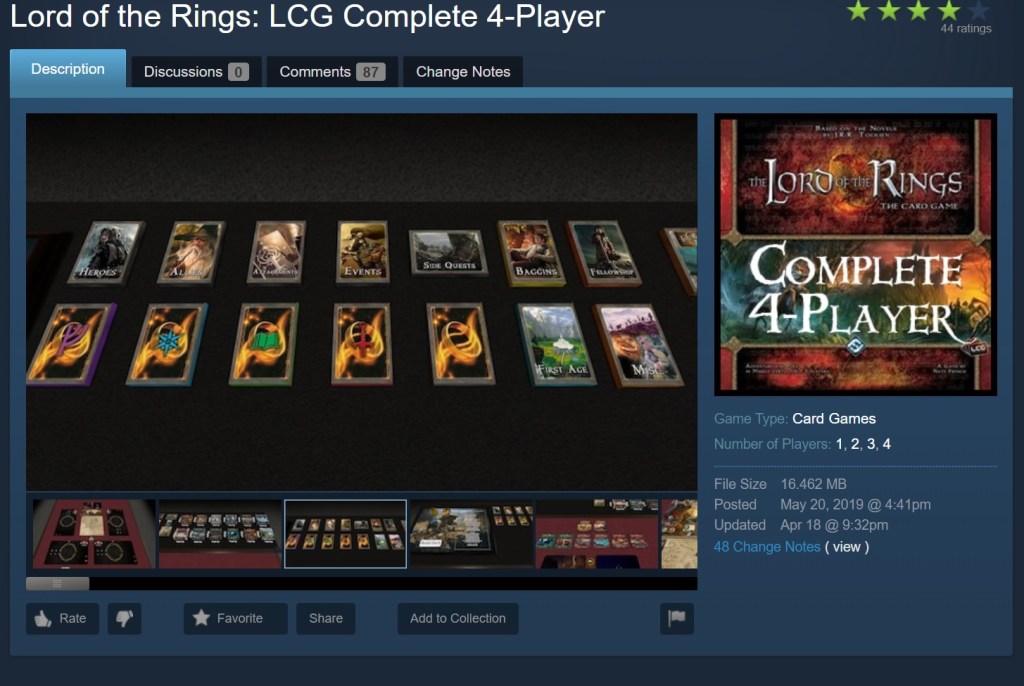
Step 2: Load the Lord of the Rings: LCG Complete 4-Player mod
There are several Lord of the Rings LCG mods, but “Complete 4-Player” is usually the most-updated one.
All you need to do is log into your Steam account and hit “subscribe” on the Complete 4-player mod page. It will automatically incorporate with the Tabletop Simulator program.
After loading up Tabletop Simulator, press “Create” and look for the Complete 4-player mod in the main menu. A giant digital table will load, as will every deck and encounter set in the game. Custom content can be found above the main table (for the Crimson mod).

Step 3: Learn how to navigate the mod
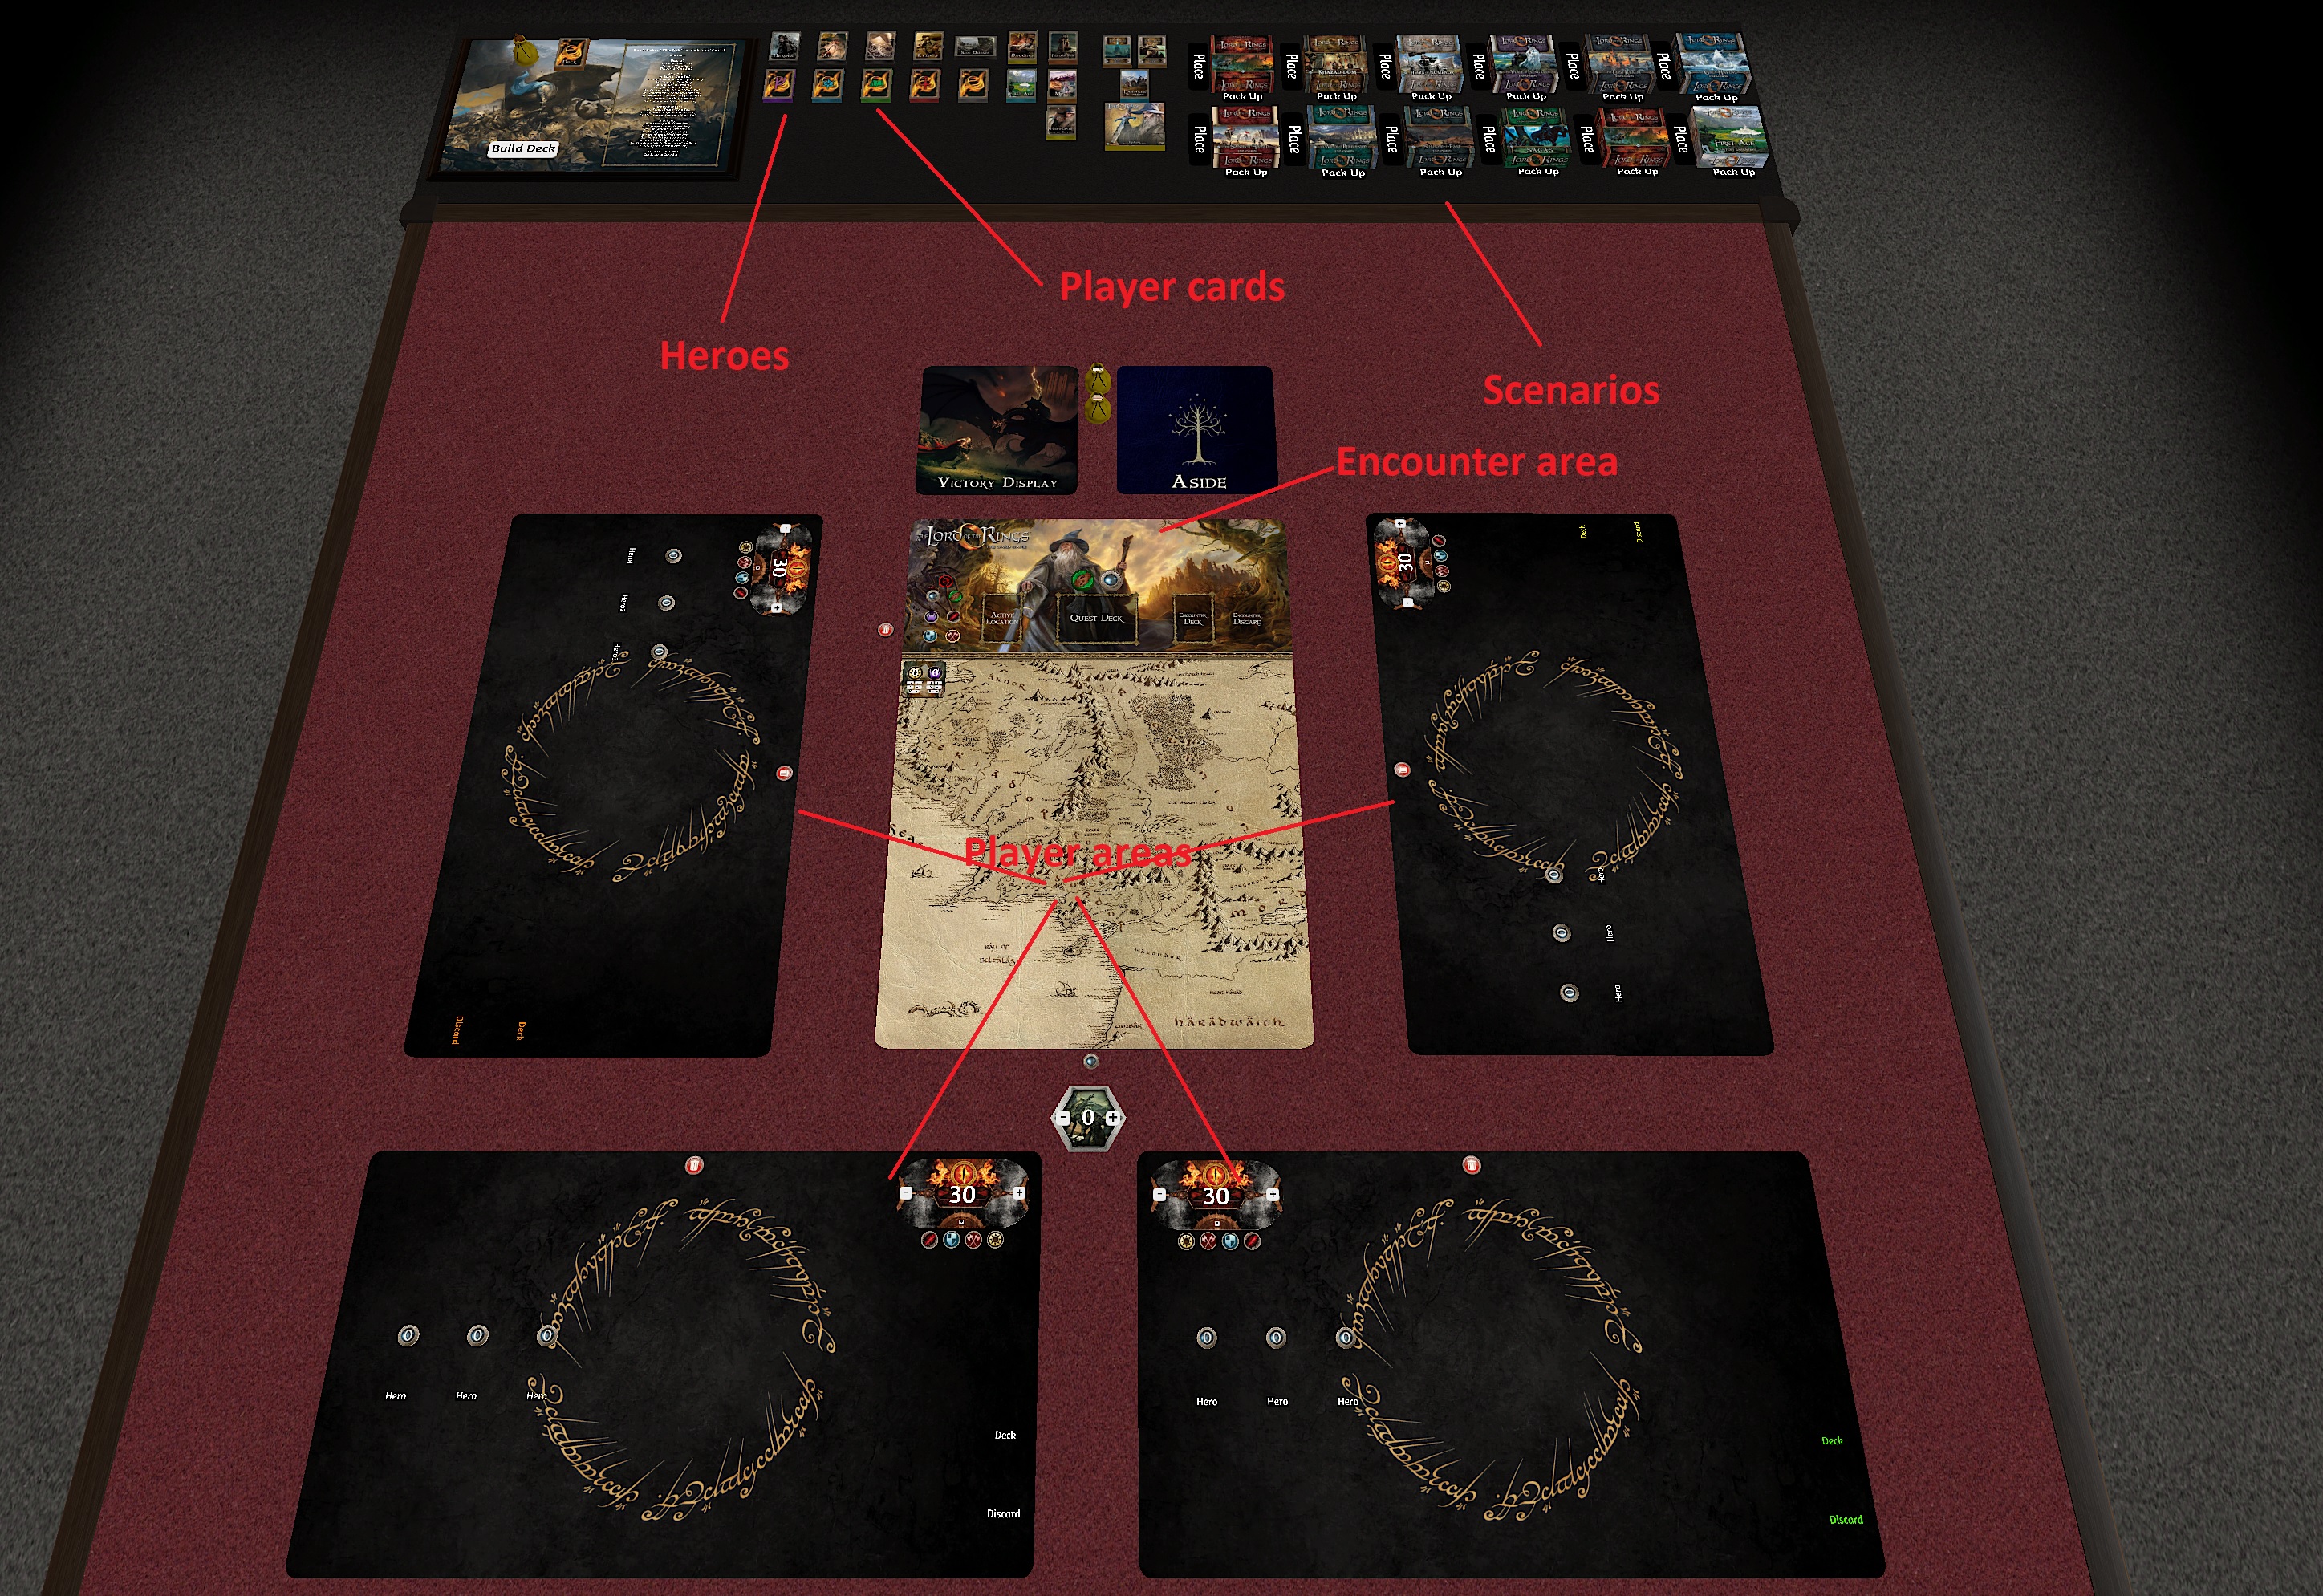
Take a look at the image above (here’s a higher resolution version) to see where everything is located.
You can click and drag everything to suit your needs, or grab items out of the pouches by clicking on them and flicking the contents out of the bag. This is how you’ll grab heroes, as well as player and encounter cards to build those decks.
Every card in the game is in those bags: if you take the time to learn where everything is, it’ll be a cinch to start a game.
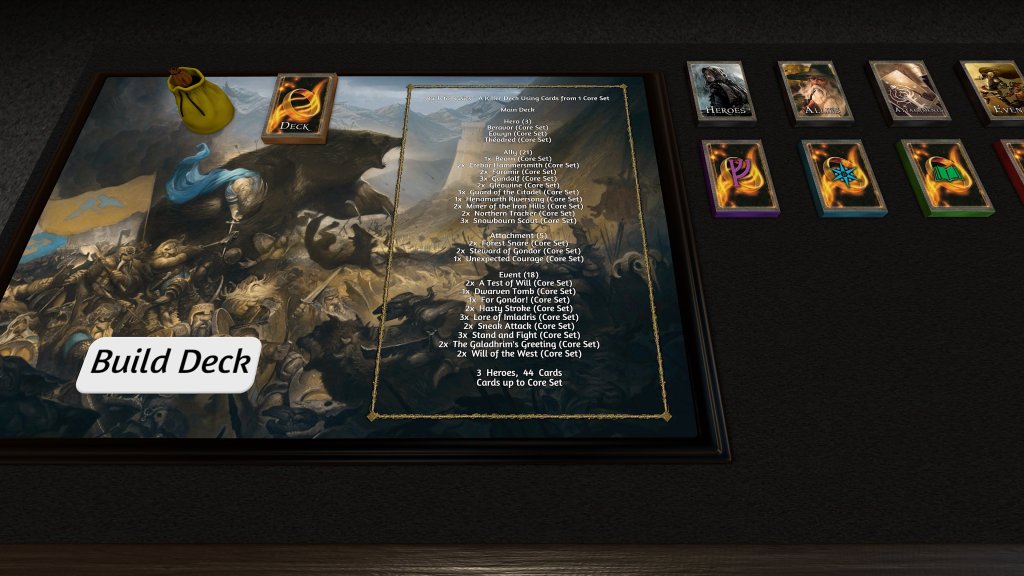
Step 4: Make your player deck
Making a deck is tricky at first, but once you get the hang of it, it’s as simple as making one in real life.
First, pick which three heroes you want to start with. All the heroes are located in one giant stack at the top of the screen. Likewise, all allies, attachments, events, sidequests and sphere cards are in decks at the top. To choose individual cards in a stack and build your deck without having to manually sort every card, right-click on a stack, and select “search.” This will show each card available in each stack on the right side of the screen. Simply click and drag the cards you want onto the table to create your deck. You can also create a deck on the upper left-hand corner of the screen to more easily locate cards.

OR, you can import a deck from RingsDB. Head to the DB and find the deck you want. After you’ve located it, click the “export” link at the top right-hand corner of the DB listing (below the title), and select “plain text.” Copy all of the text from “Main Deck” down to “Cards up to….” Head to the text box in Tabletop Simulator at the top left-hand corner of the screen. Click the “T” text symbol in the upper left vertical toolbar to edit the text near the deckbuilder. Paste your RingsDB text in, then hit “build deck.” Done!
Mash all of the cards together into one stack (including the heroes, for now, by flipping the deck upside-down and putting the hero cards on there, or by grouping them by selecting the deck and the heroes then pressing “G”) and right click on it: select “save object” and give it a name. Congratulations, you’ve saved your first deck! To instantly spawn it into an online game, have the lobby owner give you permissions and then select “objects,” at the top of the screen and click on “saved objects.” Then click the deck you want and it will appear in the game. Slide the heroes out and your deck will be fully intact.
To initiate a game, assign yourself a “player color,” which allows you to have a hand that you can manipulate at the bottom of the screen. You can do this by selecting your name in the top right corner of the screen with “change color.” In this mod, each color matches with a certain player mat. Pick the side you prefer.
Slide your three heroes into each “hero” slot on the mat. You can then tick up their resources each turn with the button counters right above them. To “deal” yourself cards, hover over your finished deck and press the numerical value you need on your keyboard. It’ll automatically deal you six cards if you press the number “6” for instance.
You can also highlight the deck and select “deal,” then your color on the color wheel to deal yourself a single card. Threat can be tracked with the convenient threat tracker on your mat. Your deck and your discard can “slot” into place in the designated areas.
To take cards off of a pile for any reason, “flick” them quickly off of the deck. To move the whole pile, deliberately click and hold.
Now you’re ready to go!
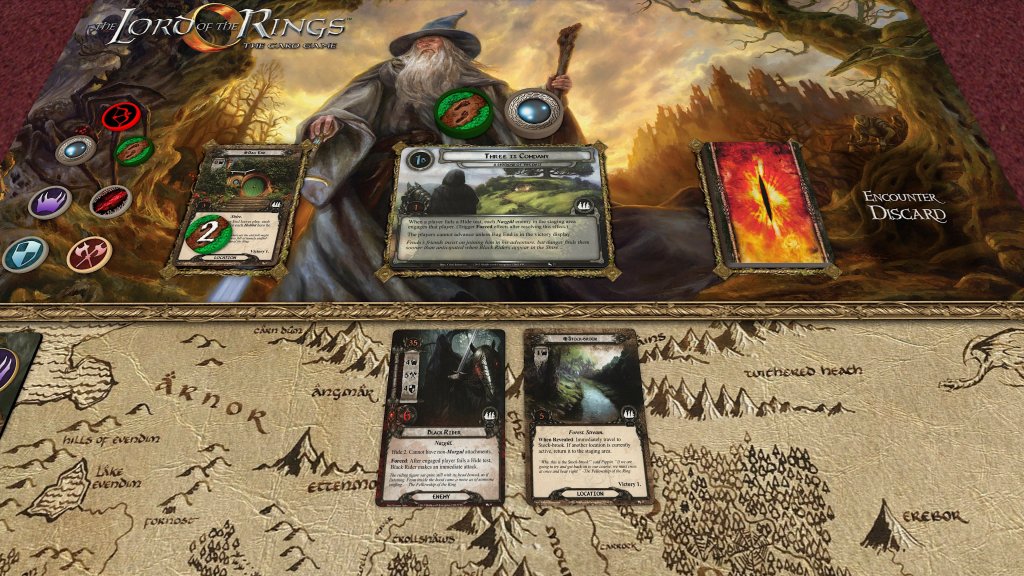
Step 5: Make the encounter deck
Find the deluxe box/cycle you want to play at the top right-hand corner of the screen. Drag out each “deck box” until you find the scenario (AP) you want to play.
In each bag (“easy” or “normal”) there are several stacks. The first stack is often the rulebook required for playing those scenarios. The second group is often the quest card stack, which you can place on the “quest deck” portion of the encounter mat in the middle of the screen. The third stack is usually the entire encounter deck, which you can place in the “encounter deck” slot. The fourth stack is typically “staging” cards that require setup.
After you’ve followed the individual setup instructions, press “R” to shuffle the encounter deck, and “F” to flip the cards so that they are facedown and you cannot see them (if they aren’t already).
Step 6: Play

Proceed how you normally would in a real game based on the Learn to Play booklet.
Some of the most useful commands are:
- Left/right-click: Add or remove a digit from a counter.
- Ctrl+C and Ctrl+V: Copy and paste a bag or object. Useful for when you want token bags in each player’s play area to save time.
- 1-9: Deal yourself that many cards off the highlighted deck.
- Q or E: Tilt cards like you would be exhausting them in real life. Also useful for slotting in side schemes when they roll off of the encounter deck vertically. For the best results, change the “degree” symbol at the top right of the screen to 90 degrees (90°).
- L: “Lock” an item so that it doesn’t fly around if you accidentally grab it.
- G: “Group” items together. Useful for selecting several stacks of cards and making them all one pile.
- F: Flip cards when they need to be revealed, or need to be face down.
- R: Shuffle a deck. Works with both player and encounter decks. You can mash R to rapidly shuffle cards for fun.
- + or -: Make something bigger or smaller (useful to scale cards to the size of your liking). If the numpad + and – keys aren’t working, try them on the numerical row above your QWERTY lettered section.
- Tab: Point at something on the table, useful for multiplayer when you’re talking out a turn. You can also hold tab to draw a line with the ruler tool to further make your point.
- Alt: Make an object appear bigger for a moment on-screen. Useful for reading detailed cards you may not have memorized yet.
- Save game: Click on “games” (the dice icon) at the top of the screen, then press save and load. Then press “create” and save your game with as many descriptors as possible so you remember it.
Alternatively, you can also play Lord of the Rings LCG on another program called OCTGN. There’s a great writeup here to help get you started. OCTGN isn’t as flashy, but is much easier to setup and learn. It’s also free.
Or you can use DragnCards, with a tutorial available here.
It goes without saying: make sure you own the decks and support the growth of Lord of the Rings LCG.
